Background
Companies often need to store approval information for legal reasons; it can be necessary to keep the data for 50+ years. DALIM ES offers a History Report which contains this information, but not all the information is a legal requirement.
Storage costs money. The bigger the file, the more you pay - and this adds up over the decades. Using the ES API - you're able to build fully customised reports, keeping just the information you need. This reduces costs and lets you add a personalised touch to suit your business needs.
In this Tech Blog, we will dive into how you can achieve this with a little bit of programming, ES's powerful workflow engine, and a step script.
Ingredients Needed
So, what will you need to achieve this?
- The ES API
- production.executeSQL: "sql":"select *,currentRevision,revision from DOCUMENTAPPROVER da, DOCUMENT d where d.ID = " + ID + " HAVING currentRevision=revision".
- GET Document/GET Preview: This can be either the full-sized document or just a preview if that is all you need.
- document.approvalStatus (optional).
- A workflow containing the script step.
- User action (optional, the script step could also be placed into a document WFL, and automatically create this report and use a digital delivery to store the report).
- Python2.7+:
- Libraries needed: requests, sys, os, DateTime, pdfkit
- Some time! The time it takes will strongly vary on programming proficiency.
Of course, this can also vary depending on personal touches to the report, for example, a document.approvalStatus if you want only to create the report if the document is fully approved.
Step by step guide
This guide will assume that you have some basic knowledge of Python and can install libraries. We won't go into code details, more a generic description of what you need to do.
Setup
The first thing to do is set up your environment to test and execute the script. Often it is easiest to execute manually on your local machine before moving it to the ES Server. For this, you will need to install Python, and the libraries listed above. Once done, you can execute the script like:
python /path/to/script.py arg1 arg2
Now that you have a working environment, you can begin making your customized approval report.
Creating the Report
In the script, we need two arguments, documentID and path. The document gathers all of the approval information for the specific document that the action is run on. The path is where we will return our file, but again this can vary on how you want to implement the report. The great thing about using Python is that the libraries can do a lot of the work for us! Let's take a look at the non-standard libraries that are used for this script.
- requests - This is a basic HTTP library that allows us to communicate with ES via the API.
- pdfkit - This is at the heart of the script, and allows us to easily programmatically create a PDF from some HTML.
Here is the basic structure:
- admin.login
- Get the preview of the relating document: GET http://server:port/Esprit/public/Interface/preview/ + documentID
- write the data to a temporary location
- Gather all approval information you want to store using production.executeSQL
- admin.logout (as soon as you have finished making the necessary API calls).
- loop through this information, and append it to a variable that holds the HTML you will use. Along with any formatting that can be done with CSS or HTML, an example HTML template variable is like so:
    html = """
    <!DOCTYPE html>
    <head></head>
    <html>
    <body>
    <style>

    br{
    line-height: 140%;
    }

    html,body{
    font-family: sans-serif;
    }

    h2{
    font-weight: normal;
    }
    #preview {
    height: auto;
    width: auto;
    max-width: 1000px;
    max-height: 1000px;
    }
    </style>
    <div><img src="file:///symlnks/var/6.0/scripts/utilities/dalim.png" alt="" width="100" height="100"> <center><h1><b>Approval Report</b></h1><hr></center></div>
    <h2><b>Document: </b>"""+ documentName+ """ </br><b>Time Created: </b>""" + str(TIME) + """<b></br>Approval Status: </b>""" + approvalStatus + """</h2>
    <div><img src=""" +PATH + PREVIEW + """ alt="Preview should be displayed" id='preview'></div>
    <div style=""><h1>Document Information</h1></div><hr>
    <div><b>Document ID:</b> """ + docId + """</br><b>Active Revision: </b>""" + activeRevision + """</br><b>Document Name: </b>""" + documentName + """</br><b>Job Name: </b>"""+jobName+"""<hr></div>
    <div style=""><h1>Approval Information</h1><hr>
    """
This is what you will append information to whilst looping through the data returned
- use pdfkit to generate a PDF from the resulting HTML.
- pdfkit.from_string(HTML, filepath)
- clean up temporary preview file.
** Important note - if you are placing this on a server without an XServer, you will need to do things a little differently. The Python library doesn't support this, so you'll instead need to install and use the native WKHTMLTOPDF binary and invoke a virtual server in a shell script, see code snippet below to call this in python. **
    ########## NO XSERVER? UNCOMMENT THIS TO USE SUBPROCESS INSTEAD - CREATE BASH SCRIPT TO USE VIRTUAL SERVER AND NATIVE WKHTMLTOPDF ##########
    # params = ["wkhtmltopdf.sh",html,filepath]
    # subprocess.check_call(["wkhtmltopdf.sh",html, filepath])

    ########## OR USE PYTHON LIBRARY IF THERE IS ##########
    pdfkit.from_string(html, filepath) #create pdf using html var
    print(filepath)
    """
Integrating into ES
You now have a Python script that is creating a customized approval report using the ES API! But how do you integrate this into ES? We'll do this using a user action, and this will allow a user to manually select the document(s) that they want to generate this report on from the UI. The first step is to add the necessary script headers and place them into:
/symlnks/var/6.0/scripts/yourFileHere.py
So that ES knows about the script, we need to place a header at the start of the file:
    #!/usr/bin/python3.7

#

# DisplayName = ApprovalReport

# Arguments = Arg1 Arg2

# Arg1.Type = String

# Arg1.Name = docID

# Arg2.Type = OutputFolder
At the top, we declare what the file will be executed with, in this case python3.6 however, this script can also be done for 2.7+. We then define the arguments to pass to the script - docID is a simple string variable, that we will set the value of using a JS expression in the editor. OutputFolder is an ES variable that allows us to write into a location that will return the file to us when the script is executed. The last server-side step is to restart the tomcat, and the script will appear in the WFL editor!
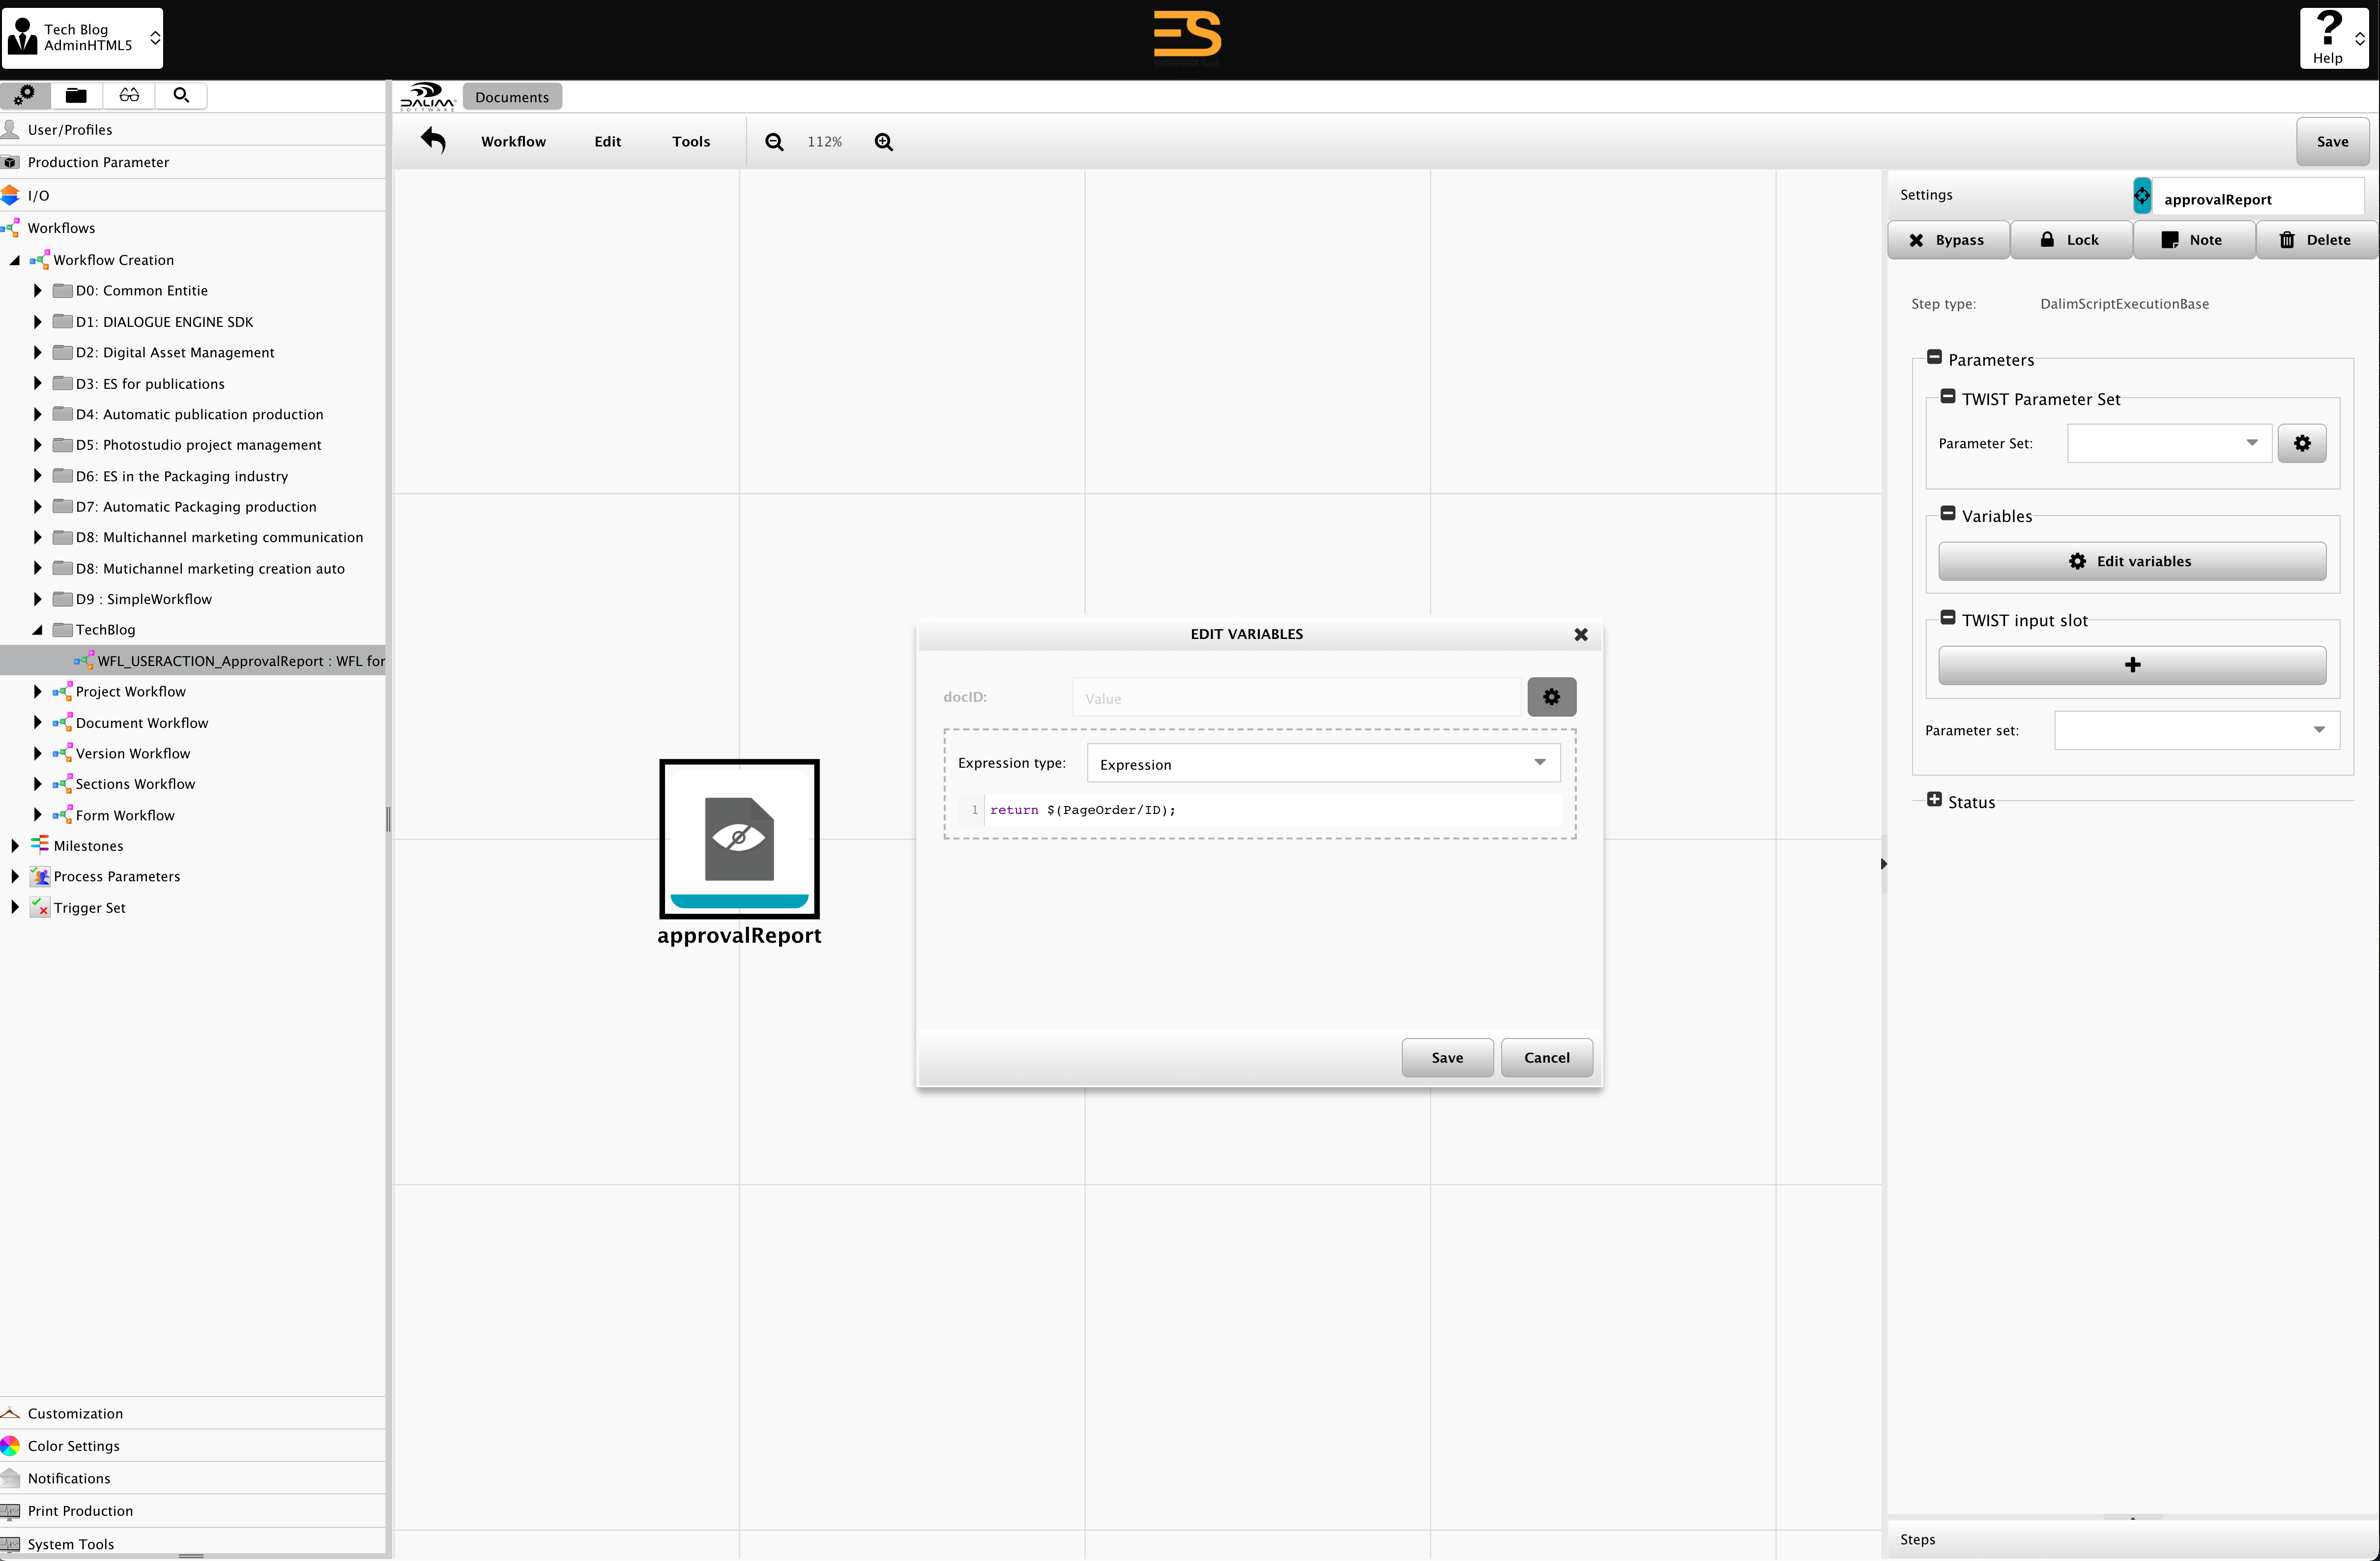
So let's create the workflow that will drive our UserAction:
You need to create a Document workflow, and then you'll be able to create your step script and provide the variables. As you can see, we need to set it for the docID with "return $(PageOrder/ID);" - this will get us the documentID of the document we run the script on.
Finally, we create the UserAction:
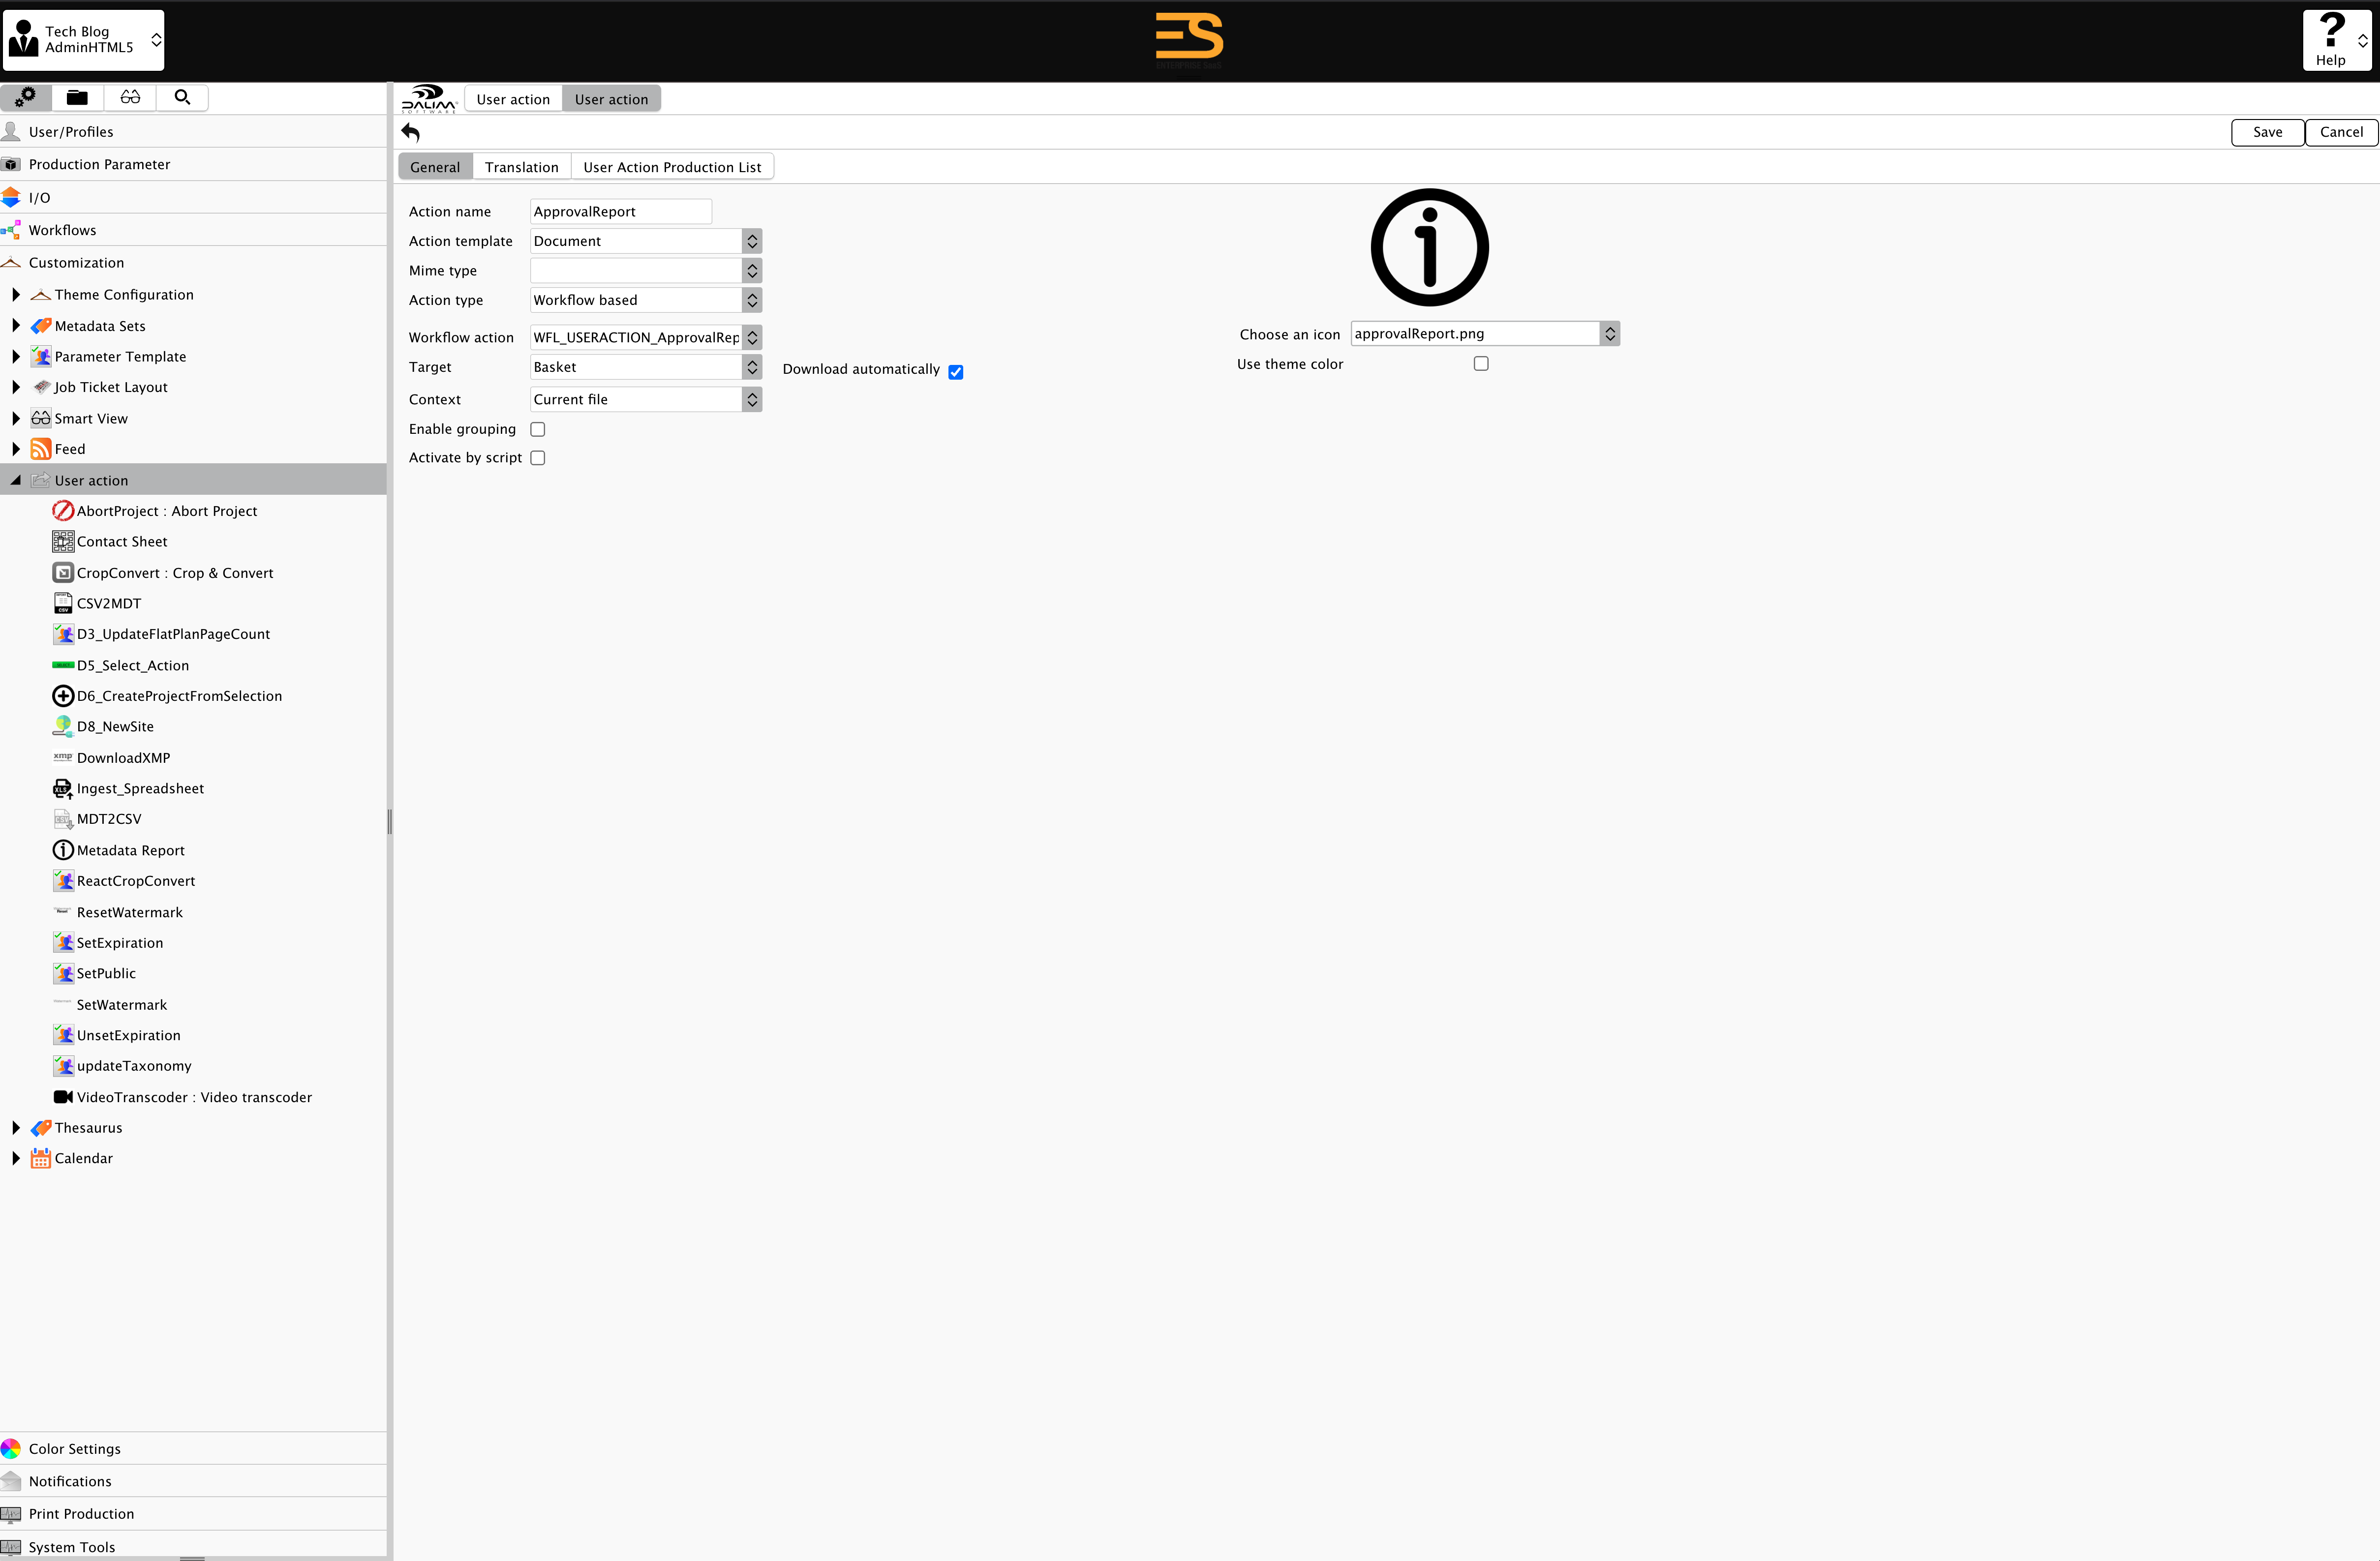
The Action type needs to be set to "Workflow Based", then you can select the document workflow we just created. The context is set to the basket and automatic download; as soon as the script is executed, the approval report will be downloaded from your browser.
Now that it is done, we can see the action in the menu!
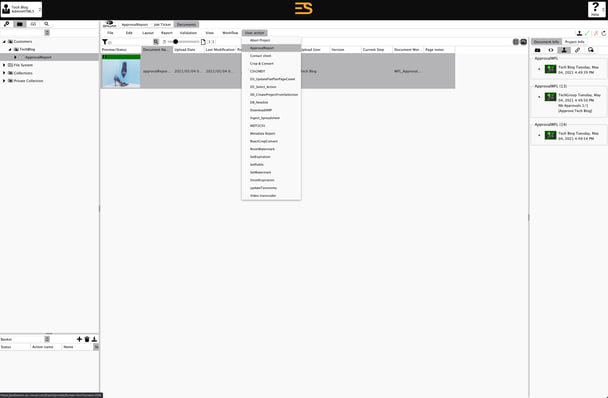
Select the document you want to run the action on, and you'll get a fully customized approval report downloaded straight to your drive. Of course, this can be fully automated so that the report is automatically generated and delivered to a place of your choosing at the end of the approval cycle!
Results
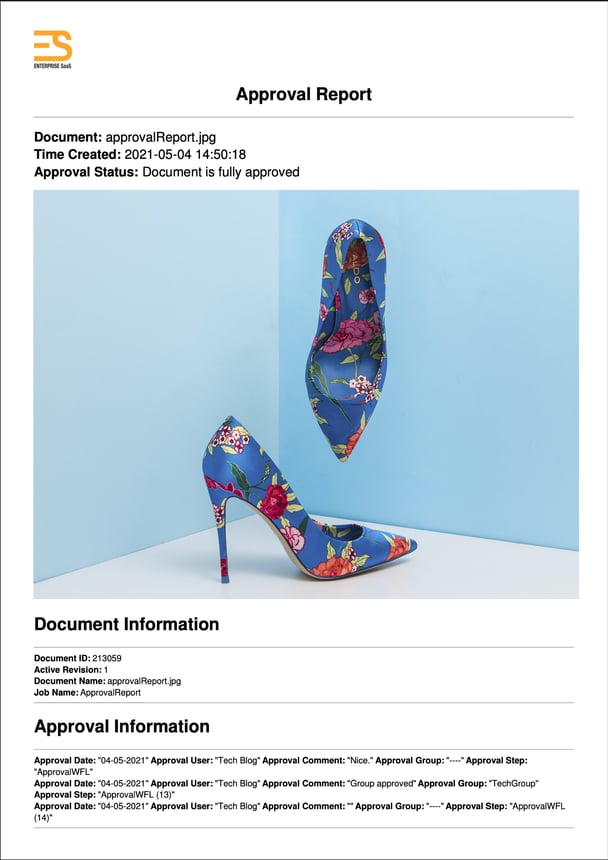
This example may not be the prettiest, but it is undoubtedly very lightweight - which after decades of storage, certainly helps.